
25 Amazing DIY Halloween Decorations

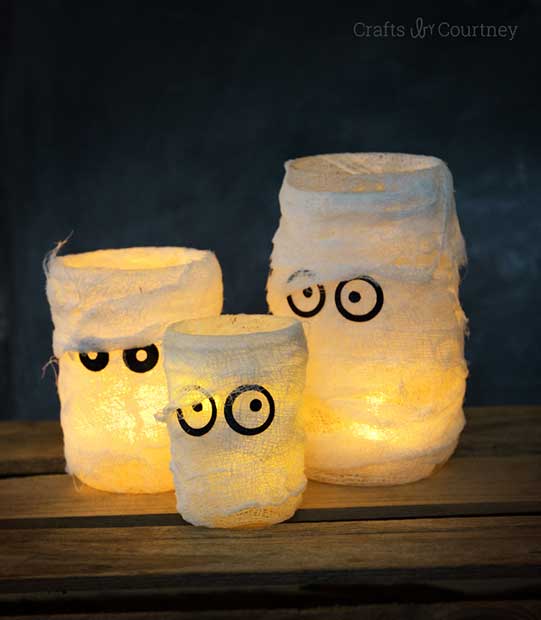
11. Mummy Luminaries
These cute mummy lanterns give you a great way to use up those sterile dressings you always seem to have in your first aid kit that no one ever needs … until the moment you’ve run out of course, because life has a funny way of doing that to you.
Source: modpodgerocksblog.com
Find a range of different-sized jars from your collection in the cupboard of glass jars you’ll never use, and cover them in these sterile dressings. If you don’t have sterile dressings, or you don’t want to use the ones in your first kit, head to the drawer filled with t-shirts you never wear instead. You could easily cut up a white one of those. With every layer of fabric / gauze you add, give it a once-over with a mixture of PVA glue and water mixed together, about a 50/50 mix. It’ll make everything dry hard, and ensure it sticks to the glass.
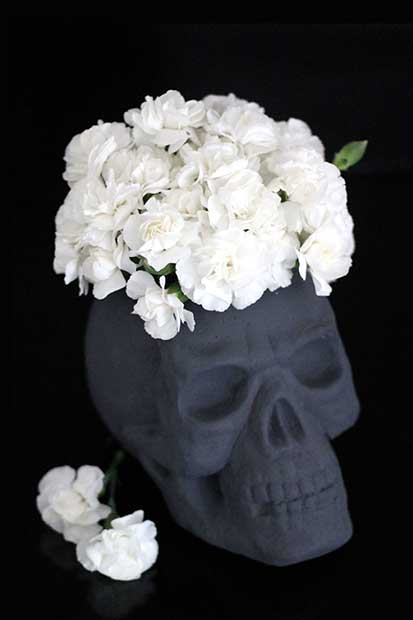
12. DIY Skull Vase
This skull looks like it has been made from stone, which it might have been, but just in case yours isn’t, here’s a clever tip. You can buy one of those shiny, polished skulls from the local dollar / pound store, and then spray-paint it with a spray paint that deliberately leaves a textured, stone-like finish. Add the white flowers to really give it some contrast, and you can have a spooky-cute look that we actually want all year round.
Source: persialou.com
If you manage to find a small skull-mould, you could ever consider making your own stone-finish skull vases, to hold flowers and pens and other such bits and pieces. We’re thinking lots of skulls in different sizes … what about you?
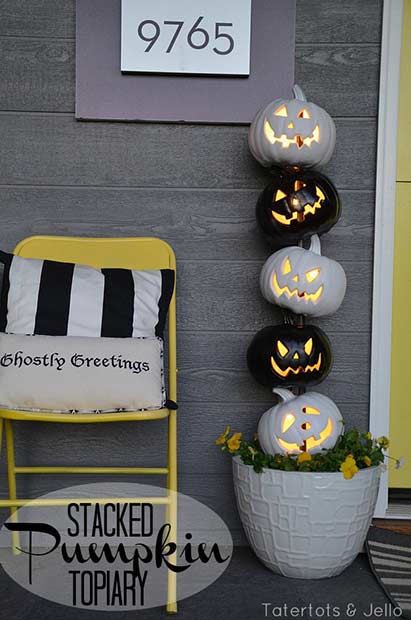
13. Pumpkin Topiary
This stacked pumpkin topiary is pretty amazing, and you could use fake or real pumpkins, although you’ll probably want to decorate them before you mount them on the spoke through the middle.
Source: tatertotsandjello.com
Candles could be used to illuminate these Jack O’Lanterns from the insides, but we’d probably recommend using some form of outdoor lighting instead. When the wind blows, the candles won’t last five minutes, plus you don’t want to run the risk of setting fire to anything. That would be a bad ending to your Halloween festivities.
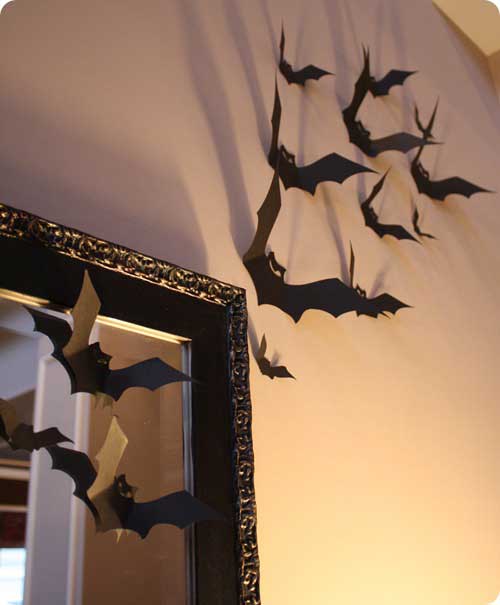
14. Paper Bats Wall Decoration
These paper bats are not only cool, but you could make loads of them very quickly, and all you need is one stencil / outline of a bat to start with. Stick 4/5 sheets of paper together, and cut them all out at the same time, and it won’t take you long to build up a collection. Then you can stick them where you like, and even make the wings pull forward a bit to give them a spooky 3D effect.
Source: thriftydecorchick.com
These could easily be used to lead the way to a bathroom at a house Halloween party, or you could just sprinkle them around because you feel like it. It’s Halloween – anything goes.
15. Halloween Village Luminaries
This is a really cool idea – painting glass jars and vases so that when a candle is popped inside, they light up and display a little image. We love the idea of using a number of these together in a line, and you could even replace the Halloween-scene you see here with letters if you have enough of them – each jar with a different letter, for example, spelling out ‘Happy Halloween!’.
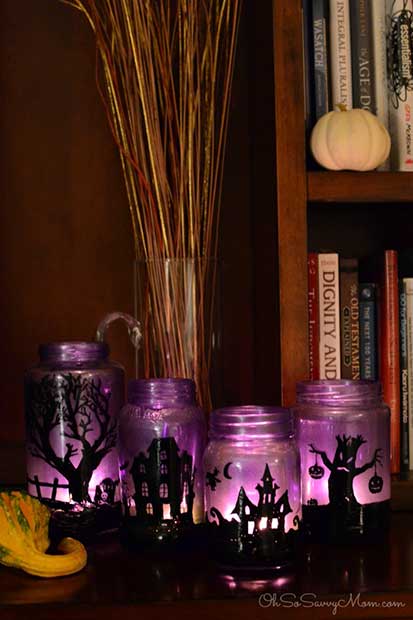
Source: ohsosavvymom.com
This would look GREAT across a bay window … or is that just us getting carried away?
16. Polka Dot Pumpkins
Everyone tries to make them pumpkins look terrifying or spooky, but we want ours to look cute. Is that too much to ask for? Fine, we’ll throw “BOO” in there, are they spooky enough now?
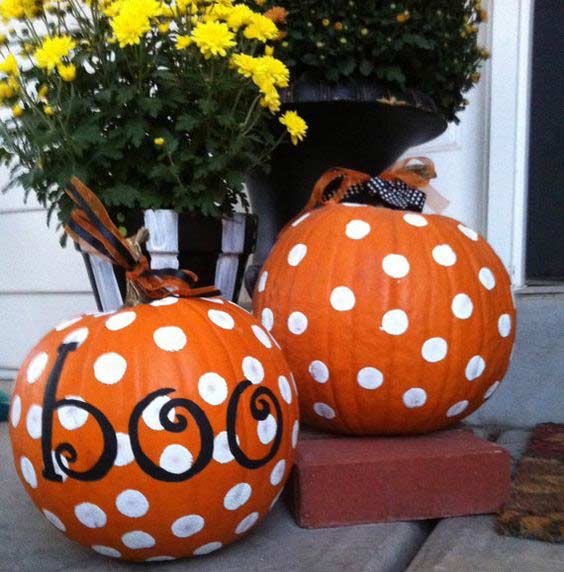
Source: pinterest.com
If you want to add cute ribbons and polka dots to your DIY Halloween decorations, you go ahead and do it. Make the rules up as you go along. Who wants their Halloween decorations to look exactly the same as everyone else’s anyway?
17. Tin Can Pumpkins
If you have quite the collection of empty food tin cans along with your empty glass jars, here’s a great way to start using them up – tin can pumpkins which, personally, we think are super adorable.

Source: www.re-fabbed.com
We love the baby blue colour that’s been used to spray-paint these here, but you could go with any colour really – orange, black, even glittery pink if you wanted. Ooooh, glittery pink. That certainly would stand out from the crowd, don’t you think? 😉
18. Black Jack-O’-Lanterns
The thing we love the most about these Jack O’Lanterns is that they look as if they have been burned. No, they haven’t, don’t worry. No pumpkins were harmed in the making of these DIY Halloween decorations. (Except for the carving, of course!)

Source: thezoereport.com
Paint them black after you’ve carved them, and you’ll notice they take on a very different look entirely. It’s cool though, right? We can’t stop looking at these ones.
19. Spooky Wreath
Remember those old twig and branch wreaths we spoke about earlier? Well, here’s a brand new way to Halloween them up so that you can make use of some of the old stuff you have lying around the house. The word ‘Spooky’ has been added across the front of this one, but if you find similar sized spooky-themed words, you could add those instead. Just use a glue gun to make sure it sticks, and maybe add a touch more glue too. You don’t want it to fall off your door as someone knocks on it.
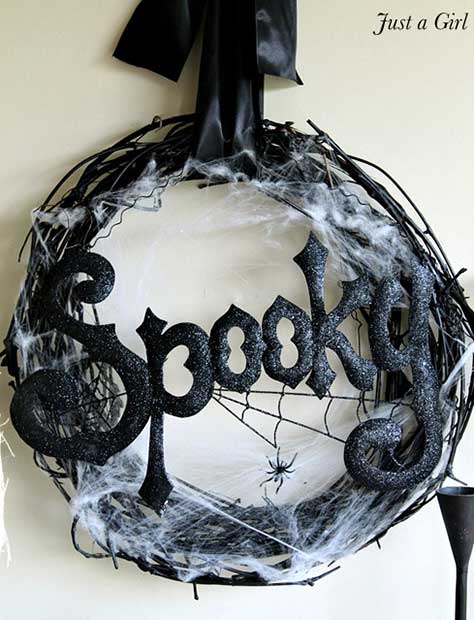
Source: justagirlblog.com
Throw some spooky web around, and add some spooky black spiders, and what do you have? DIY Halloween decorations done the right way – the easy way! (And even the kids can help!)
20. Halloween Lampshade
If you have an old lampshade that you was going to throw away anyway, why not Halloween it up first? You might as well use it, and you never know – you might just come up with someone you’ll want to keep and use year after year. You never know …
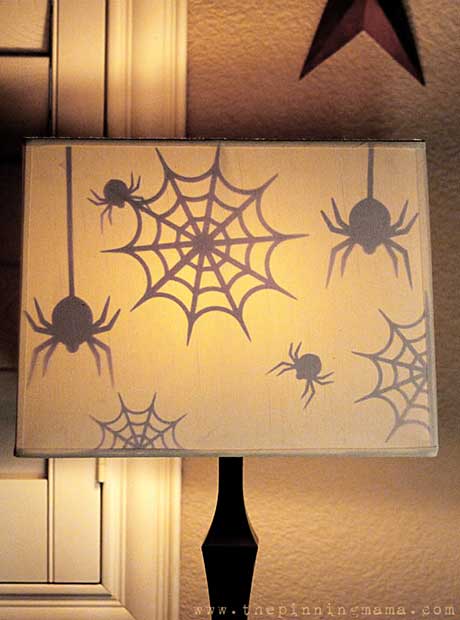
Source: thepinningmama.com
Spooky silhouettes are a great way to make anything look scary. This is probably because everything always seem to be that little bit frightening in the dark. What spooks you? Spiders? Witches? The Devil?